These cookies are a playful and eerie addition to any Halloween spread. Not only are they fun to look at, but they’re also made from a buttery, melt-in-your-mouth dough that’s simple to prepare. You’ll love how customizable they are—add food coloring, use different jam flavors, or even dip them in chocolate. Plus, they’re great for getting the kids involved in decorating and shaping the spooky fingers.
Ingredients
(Tip: You’ll find the full list of ingredients and measurements in the recipe card below.)
Unsalted butter, softened
Powdered sugar
Egg
Vanilla extract
Almond extract (optional)
All-purpose flour
Baking powder
Salt
Whole almonds (for fingernails)
Red gel food coloring or strawberry/raspberry jam (for blood effect)
Optional: green food coloring (for a more witchy look)
Directions
Preheat oven to 325°F (163°C) and line a baking sheet with parchment paper.
In a large bowl, cream together softened butter and powdered sugar until smooth.
Beat in the egg, vanilla extract, and almond extract (if using).
Add flour, baking powder, and salt. Mix until a soft dough forms.
If desired, add green food coloring to tint the dough.
Divide the dough into small pieces and roll each into a finger shape.
Use a knife to create knuckle lines and indentations for a realistic look.
Press a whole almond into the tip of each finger to resemble a fingernail.
Place shaped cookies on the prepared baking sheet.
Bake for 18–22 minutes or until lightly golden on the edges.
Remove from oven and let cool slightly.
For a bloody effect, lift the almond, add a dab of red food gel or jam, and press the almond back on. Optionally, brush more “blood” around the base of the fingernail or on knuckle lines.
Colorful Witches: Tint dough green or purple for a more playful Halloween look.
Chocolate Dipped Tips: Dip the fingertip or base in melted chocolate for a darker twist.
Nut-Free Option: Use a chocolate chip or candy in place of almonds for the nail.
Flavor Add-Ins: Use orange zest, cinnamon, or pumpkin spice for added seasonal flavor.
Monster Fingers: Make them chunkier with extra decoration like sprinkles or candy eyes.
Storage/Reheating
Store cooled cookies in an airtight container at room temperature for up to 1 week.
No reheating is needed. You can also freeze the unbaked dough logs for up to 2 months and shape/bake when ready.
FAQs
Can I make the dough ahead of time?
Yes, you can prepare the dough a day in advance and store it in the refrigerator. Let it soften slightly before shaping.
Can I freeze the cookies?
Yes, freeze shaped and unbaked dough or fully baked cookies in an airtight container. Thaw at room temperature before serving.
Can I use a different jam for the blood?
Yes, raspberry or strawberry jam works best for a realistic blood effect, but any red jam will do.
What if I don’t have whole almonds?
Use candy pieces, chocolate chips, or slivered almonds to create a nail effect.
Do these cookies spread in the oven?
Not much. For best results, chill the shaped fingers for 10–15 minutes before baking to help them keep their shape.
Can I use food coloring in the jam?
Yes, adding a bit of red or black food gel to the jam enhances the blood effect.
Are these cookies very sweet?
They’re subtly sweet like traditional shortbread. You can increase sweetness slightly by dusting with powdered sugar or serving with extra jam.
Can kids help make these?
Absolutely! Kids will love shaping the fingers and adding the “bloody” decorations.
Can I add cocoa powder to make chocolate witch fingers?
Yes, substitute a few tablespoons of flour with unsweetened cocoa powder for a chocolate version.
How do I get the fingers to look more realistic?
Use a butter knife or toothpick to make small wrinkles, knuckles, and lines before baking. Adding a bit of dark food coloring to the knuckle creases enhances the creepy effect.
Conclusion
Witch Finger Cookies are the ultimate Halloween treat—creepy, creative, and completely delicious. Whether you’re hosting a party, baking with the kids, or looking to wow your guests with festive treats, these spooky cookies are sure to cast a delicious spell. They’re simple to make, fun to decorate, and perfect for getting into the Halloween spirit.
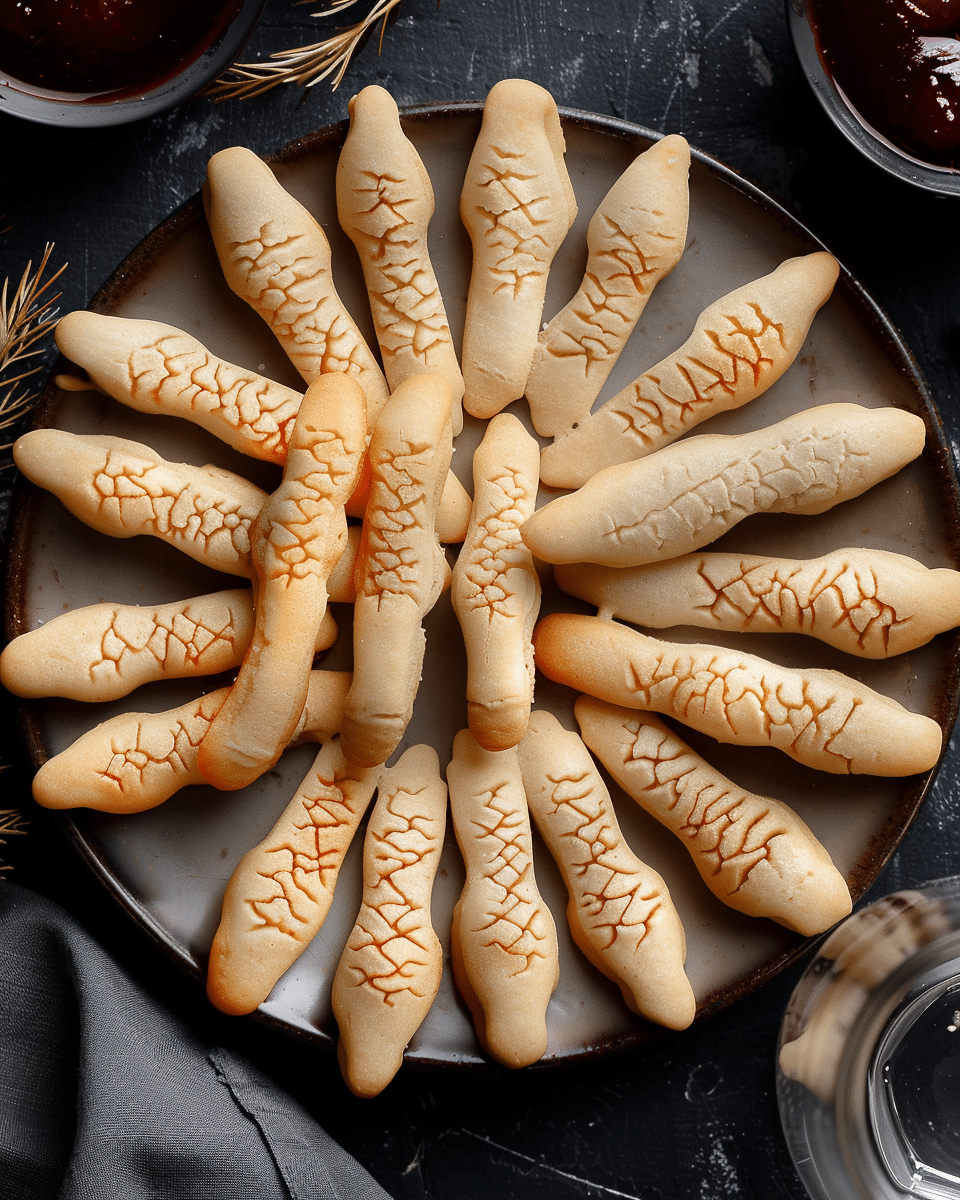
Witch Finger Cookies are spooky, buttery shortbread cookies shaped like creepy fingers, complete with almond fingernails and red jam for a ‘bloody’ effect. Perfect for Halloween parties, they’re fun to make and delicious to eat.
Ingredients
1 cup unsalted butter, softened
1 cup powdered sugar
1 large egg
1 teaspoon vanilla extract
1/2 teaspoon almond extract (optional)
2 2/3 cups all-purpose flour
1 teaspoon baking powder
1/2 teaspoon salt
20–24 whole almonds (for fingernails)
2–3 tablespoons strawberry or raspberry jam (or red gel food coloring)
Optional: green food coloring for dough
Instructions
Preheat oven to 325°F (163°C) and line a baking sheet with parchment paper.
In a large bowl, cream together butter and powdered sugar until smooth.
Beat in the egg, vanilla extract, and almond extract (if using).
Add flour, baking powder, and salt. Mix until a soft dough forms.
If desired, tint the dough with green food coloring for a witchy look.
Divide dough into 20–24 pieces and roll each into a finger shape.
Use a butter knife or toothpick to create knuckle lines and creases.
Press a whole almond into one end of each finger to resemble a nail.
Place shaped cookies on the prepared baking sheet.
Bake for 18–22 minutes, or until lightly golden at the edges.
Remove from oven and cool slightly. Lift the almond, add a dab of jam or red gel, and press the almond back into place. Optionally, brush more around the nail or knuckles for added ‘blood’.
Cool completely before serving or storing.
Notes
Chill shaped fingers for 10–15 minutes before baking to help retain shape.Swap almonds with chocolate chips or candies for a nut-free version.Add cocoa powder to make chocolate witch fingers.Use orange zest or pumpkin spice to flavor the dough.Kids can help shape and decorate for a fun Halloween activity.


