This recipe requires no oven, making it quick and convenient to prepare. The layered textures—chewy, creamy, and firm—create a satisfying bite every time. It’s a great make-ahead dessert that stores well, and its rich flavor makes it perfect for special occasions or whenever you want a treat that feels a little extra.
Ingredients
(Tip: You’ll find the full list of ingredients and measurements in the recipe card below.)
Base layer: 1/2 cup butter 1/4 cup sugar 1/3 cup cocoa powder 1 egg, beaten 1 1/2 cups graham cracker crumbs 1 cup desiccated coconut 1/2 cup chopped nuts (optional)
For the base layer, melt the butter, sugar, and cocoa powder in a saucepan over low heat. Stir until smooth.
Remove from heat and quickly mix in the beaten egg, stirring continuously so it thickens without scrambling.
Add the graham cracker crumbs, coconut, and nuts if using. Mix well, then press firmly into the base of the prepared pan. Chill until set.
For the middle layer, beat the butter until smooth. Add icing sugar and custard powder, then mix in enough milk to create a thick, creamy consistency.
Spread the custard mixture evenly over the chilled base and refrigerate again until firm.
For the top layer, melt the chocolate and butter together until smooth.
Pour the chocolate over the custard layer and spread evenly. Chill until fully set before slicing into squares.
Servings and timing
This recipe makes about 16–20 squares. Prep time is 25 minutes, chilling time is about 2 hours, and total time is approximately 2 hours 25 minutes.
Variations
You can use different types of chocolate for the topping, such as milk or semi-sweet, depending on your preference. For a nut-free version, simply omit the nuts from the base. Adding a hint of peppermint or orange extract to the middle layer can give a unique twist. Some versions also include a sprinkle of sea salt on top for contrast.
Storage/Reheating
Store Nanaimo Slice in an airtight container in the refrigerator for up to 5 days. It can also be frozen for up to 2 months; thaw in the fridge before serving. This dessert is best enjoyed chilled, but you can let it sit at room temperature for a few minutes to slightly soften before eating.
FAQs
What is custard powder?
Custard powder is a flavored starch used to create a custard-like taste and texture in the middle layer.
Can I make this without custard powder?
You can substitute with vanilla pudding powder or a mix of cornstarch and vanilla extract, though the flavor will differ slightly.
Why is my chocolate topping cracking?
This can happen if the chocolate layer is too thick or too cold when slicing. Let it sit briefly at room temperature before cutting.
Can I use digestive biscuits instead of graham crackers?
Yes, digestive biscuits are a great alternative and work very well in the base.
Do I have to use coconut?
Coconut is traditional, but you can reduce or omit it if preferred, though it will change the texture.
How do I get clean slices?
Use a sharp knife and wipe it clean between cuts. Slightly warming the knife can also help.
Can I make this dairy-free?
You can try dairy-free butter and chocolate alternatives, but the texture may vary slightly.
Is this slice very sweet?
Yes, it is a rich and sweet dessert, but the cocoa and chocolate help balance the flavors.
Can I double the recipe?
Yes, you can double it and use a larger pan for more servings.
Why is my middle layer too soft?
It may need more chilling time or slightly less liquid when mixing.
Conclusion
Nanaimo Slice is a timeless no-bake dessert that delivers rich flavor and satisfying texture in every bite. With its simple preparation and layered appeal, it’s a fantastic recipe to have on hand for gatherings, celebrations, or whenever you want a classic sweet treat.
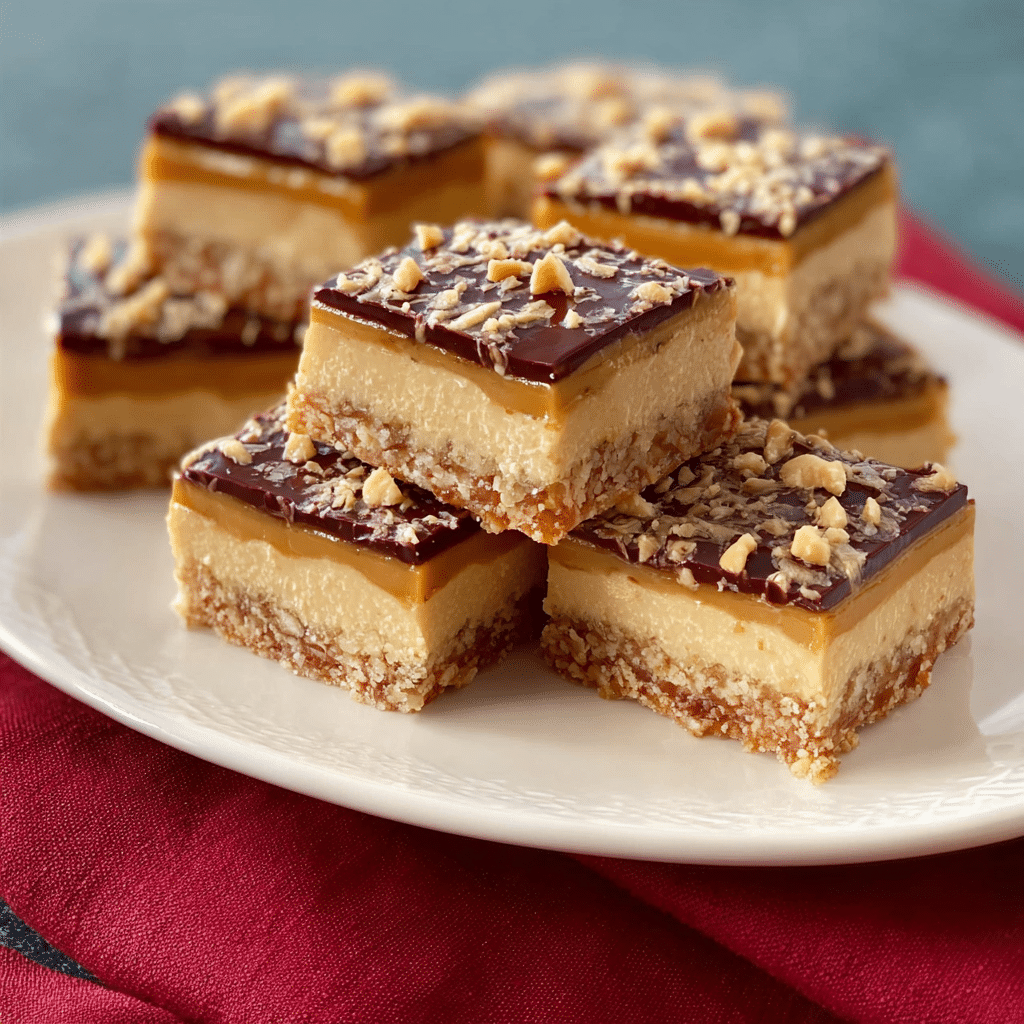
This classic Nanaimo Slice is a rich no-bake dessert featuring three delicious layers: a chocolate coconut base, a creamy custard filling, and a smooth chocolate topping. Perfectly indulgent and easy to prepare, this Nanaimo slice recipe is ideal for entertaining, gifting, or satisfying sweet cravings.
Ingredients
Base Layer:
1/2 cup butter
1/4 cup sugar
1/3 cup cocoa powder
1 egg, beaten
1 1/2 cups graham cracker crumbs
1 cup desiccated coconut
1/2 cup chopped nuts (optional)
Middle Layer:
1/2 cup butter, softened
2 cups icing sugar
2 tbsp custard powder
2–3 tbsp milk
Top Layer:
150g dark chocolate
2 tbsp butter
Instructions
Line a 20cm square pan with baking paper.
For the base, melt butter, sugar, and cocoa powder over low heat until smooth.
Remove from heat and quickly stir in the beaten egg until thickened.
Add graham cracker crumbs, coconut, and nuts (if using). Mix well and press firmly into the pan. Chill until set.
For the middle layer, beat butter until smooth. Add icing sugar and custard powder, then mix in milk until thick and creamy.
Spread evenly over the chilled base and refrigerate until firm.
For the top layer, melt chocolate and butter until smooth.
Pour over the custard layer and spread evenly. Chill until fully set.
Slice into squares before serving.
Notes
Stir continuously when adding the egg to avoid scrambling.Chill each layer properly for clean slicing.Let the slice sit briefly at room temperature before cutting to prevent cracking.Use a warm knife for neat, sharp edges.